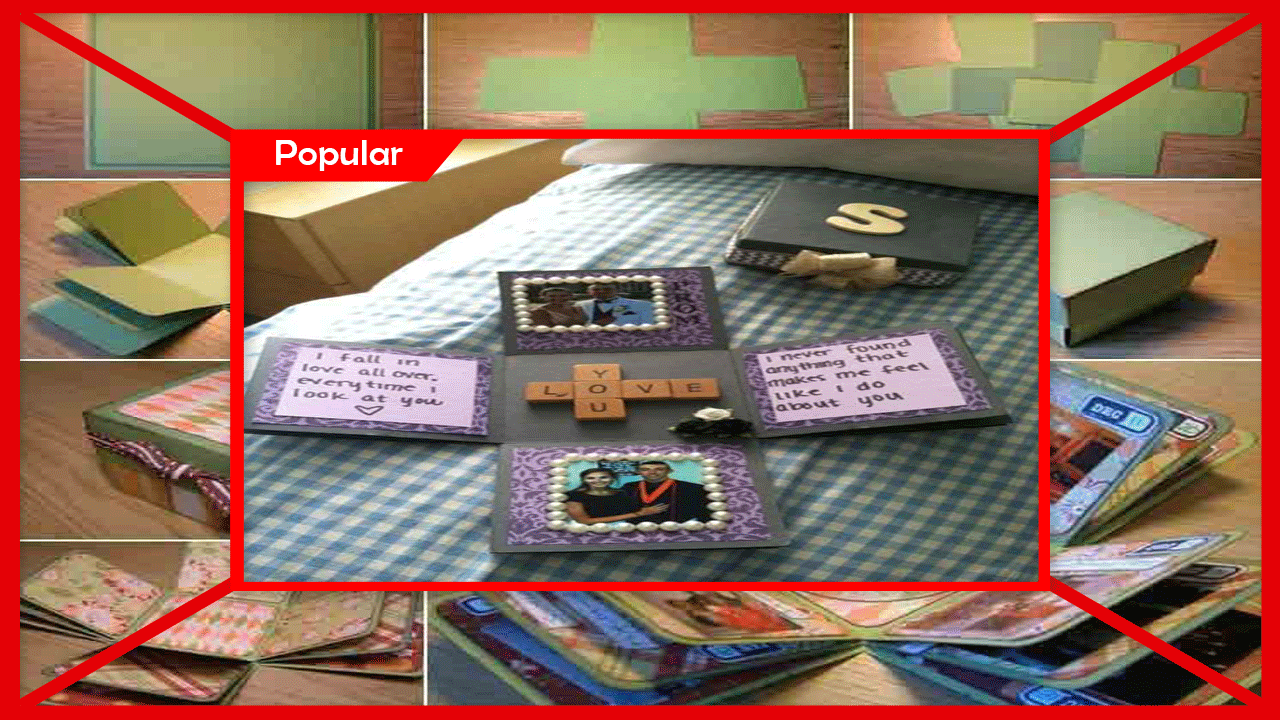
How to Make Explosion Box for Boyfriend
1.0 1
v8.0 by JS Town


Requires Android: Android 4.2+
Screen DPI: 160-640dpi
SHA1: 36fb277ba4728fac8dabb27442c61d311ff7235e
Size: 13.23 MB
Requires Android: Android 4.0+
Screen DPI: 120-640dpi
SHA1: 4d3aa7627c203ab744d725199e926bf45184d3cc
Size: 12.3 MB
What's New:
Package Name:
Category:
Update Date:
2021-01-30
Latest Version:
8.0
Need Update:
Requirements:
Android 4.2+
Report:
1000+ Used Wood Pallet Project Ideas
get inspired and see what you can make from wood pallet by checking out this app
7.1 3
Pringsewu Update
Site of the Digital Era of Lampung Society
9.7
1000+ Pallet Design Ideas
Best application that provide awesome pallet design ideas
10.0 8
Arts and Crafts Ideas to Sell
Arts and Crafts for sell feel happy and care about the environment
7.0 16
1000+ Unique Pallet Design Ideas
get inspired and see what you can make using pallet by checking out these unique
7.3 2
1000+ Wood Planters Ideas
This App can give you new ideas, designs and experiences to beautify your garden
8.1 7